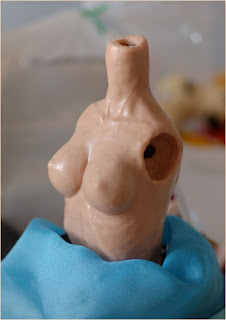
Welcome! Follow us to see progress on our 60cm girls' body, anticipated to be available Spring 2013.
Wednesday, April 13, 2011
Monday, April 11, 2011
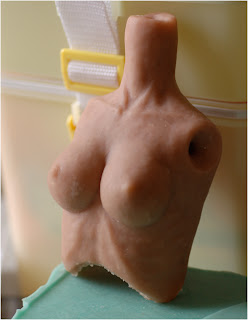
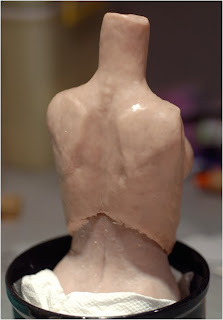
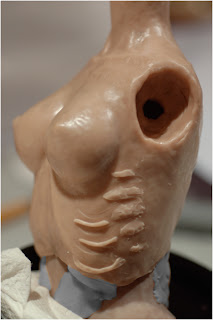
Sanding the upper torso
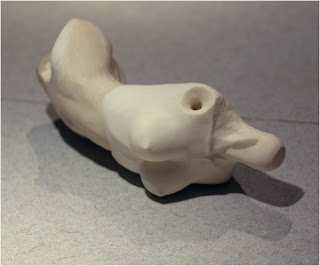 | |||
The ribcage was too large for her narrow waist... so I've been narrowing it, all the while constantly reshaping the rib elements. I'm also going to increase the waist size, and raise the height of the waist a little, as she's too long-waisted. I'll make these increases in epoxy... actually a plumbers' compound called "Gapoxie", sold by the Black Hills Institute of Geological Research, of all things! I've applied some already... it's the darker gray stuff. Once these adjustments have been remade and the upper shoulders and back are smoothed and shaped, I'll recast.
Friday, April 1, 2011
Making the mold for the upper torso
The moldbox will hold the liquid silicone rubber used to make the mold. It's foamcore, glued with a glue gun at the seams. I filled the bottom with clay--you'll see why later...
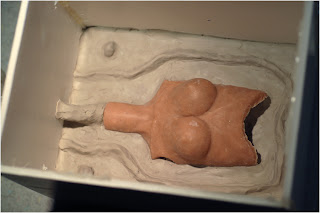
Next, one-half of the upper torso is encased in wet clay. I only want to expose half of the body to the silicone.
Now the clay-encased torso is put into the box. Ultimately, only the top half of the torso will be exposed.
Now I'll add "keys", so that I'll be able to match the top and bottom halves of the mold later, when I pour the resin into the cavity. The structure coming out of the neck will become the hole to pour the resin. Remember... anything in clay will be "void" in the final mold. I know... it's all terribly confusing. To me, too!
Now for a lovely bath of liquid rubber. Moldstar 15, from Smooth-On.
The mold box is filled with liquid rubber to about two inches above the highest point of the torso.
The finished mold of the top half of the torso. Note that half of the cavity within the torso is also part of the mold.
Saturday, February 12, 2011
Subscribe to:
Posts (Atom)


